
Removing bike pedals is an essential skill for any cyclist. Whether you want to fix, upgrade, or clean parts of your bike, knowing how to safely remove pedals helps keep your bike running smoothly. This guide is created for Grade 9 students and covers everything you need to know, even if you’re new to bike maintenance.
Essential Tools Needed to Remove Bike Pedals
Before starting, gather the right tools. Having good equipment makes the job easier and safer.
Choosing the Right Pedal Wrench or Allen Key
- Most pedals require a pedal wrench (usually 15mm) or an Allen key (usually 6mm or 8mm).
- Check the back of the pedal arm to see if there is a spot for the Allen key or if a wrench is needed.
- Choose a strong tool that fits tightly, to avoid damaging the pedal.
Preparing Your Bike (Safety and Setup Tips)
- Shift your bike to its lowest gear, so the chain is on the smallest cogs.
- If possible, place the bike on a bike stand. If not, lean it safely against a wall.
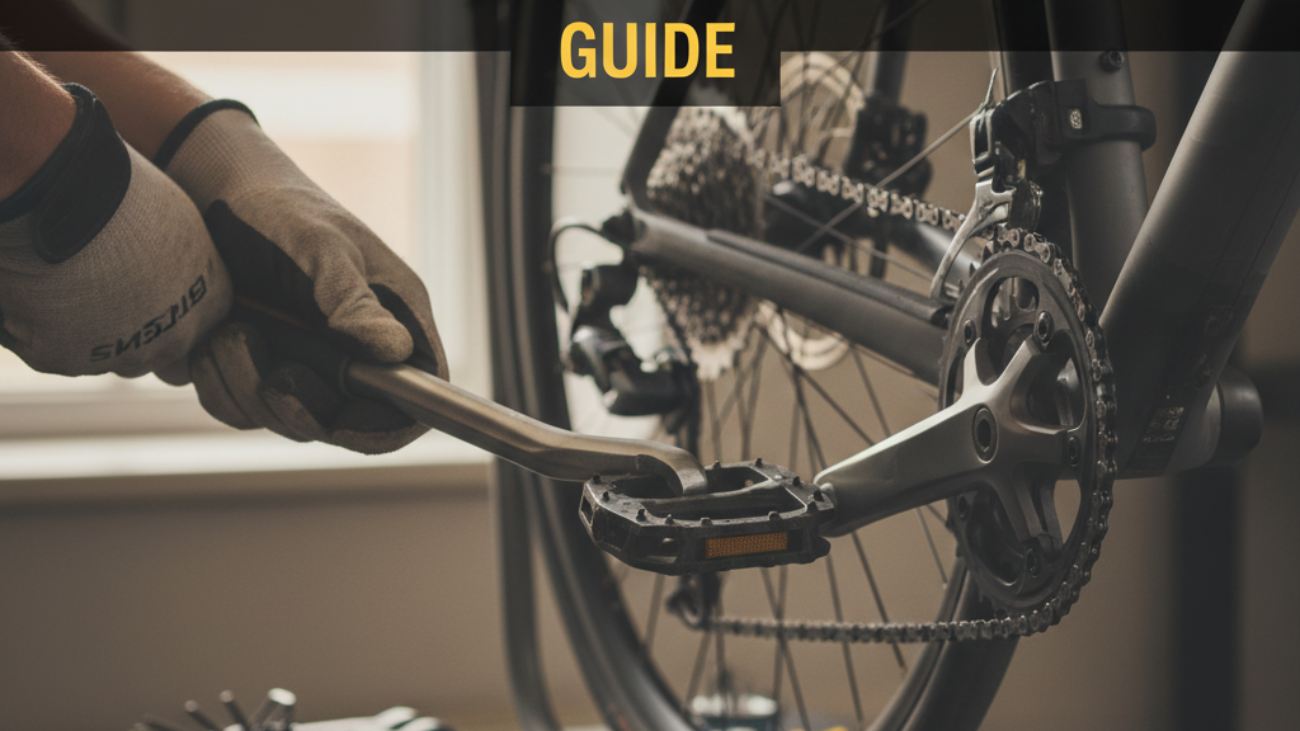
- Wear gloves to protect your hands from grease and injury.
- Keep a rag nearby to clean your hands or remove dirt from parts.
Understanding Bike Pedal Threading and Orientation
Pedal threading can be confusing. Knowing which way to turn the pedals is key to removing them easily.
Identifying Left vs. Right Pedals
- The right pedal (marked “R”) is on the side with the chain.
- The left pedal (marked “L”) is on the side without the chain.
- Check for small letters stamped on the pedal or crank arm.
- Remember: left and right sides refer to when you’re sitting on the bike.
Why Pedal Threading Matters for Removal
- The right pedal has a normal (right-hand) thread. Turn counterclockwise to remove.
- The left pedal has a reverse (left-hand) thread. Turn clockwise to remove.
- This threading prevents pedals from loosening while you ride.
How to Remove Bike Pedals: Step-by-Step Instructions
Follow these steps to remove your bike pedals safely and easily.
Positioning Your Bike for Easy Access
- Set your bike in a stand, or lean it against a wall so it stays steady.
- If you don’t have a stand, place a towel under your bike to avoid scratches.
- Face the side of the pedal you want to remove first.
Correct Direction for Pedal Removal
- Find which pedal you’re working on (left or right).
- For the right pedal, place your wrench or Allen key at the 3 o’clock position.
- Push down (toward the back of the bike, counterclockwise).
- For the left pedal, place the tool at the 9 o’clock position.
- Push down (toward the front of the bike, clockwise).
Techniques for Stubborn or Seized Pedals
- If the pedal won’t move, spray some penetrating oil at the joint and wait a few minutes.
- Use a longer wrench for more leverage, but avoid sudden, hard pulls.
- Tap the end of the wrench gently with a rubber mallet if needed.
- Stay patient and double-check you are turning in the correct direction.
Common Problems When Removing Bike Pedals (And Solutions)
Bike pedals can sometimes be difficult to remove. Here’s how to fix common issues.
Rusted or Corroded Pedals
- Apply rust remover or penetrating oil to the pedal threads.
- Wait 10-15 minutes, then try removing the pedal again.
- If very stuck, repeat the oil application or get help from a bike shop.
Stripped Pedal Threads
- If threads look damaged (rounded or uneven), stop forcing the pedal.
- It may be possible to re-thread the crank arm using a special tool (tap and die set).
- Severely damaged threads may require crank arm replacement.
Pedals on Different Bike Types (Road, MTB, Kids’ Bikes)
- Road bike pedals may need a thin pedal wrench.
MTB and kids’ bikes often use Allen keys. - Always check the fit before applying force.
- Some pedals may have plastic covers on the bolt—remove these first.
Expert Tips for Smooth Pedal Removal and Maintenance
Prevent future problems with these pro tips.
Preventing Future Stuck Pedals
- Apply a thin layer of bike grease to the pedal threads before installing pedals.
- Tighten pedals firmly, but do not overtighten.
- Check pedals for tightness every few months.
Best Practices for Installing New Pedals
- Always start threading new pedals by hand to avoid cross-threading.
- Remember: right pedal turns right (clockwise), left pedal turns left (counterclockwise).
- Use a wrench to finish tightening, but do not use excessive force.
- Wipe off any excess grease to keep the area clean.
Mistakes to Avoid When Removing Bike Pedals
- Do not use the wrong tool size—it can damage the pedals or crank.
- Do not force a pedal if it won’t turn; check the threading direction first.
- Do not rush—work slow and steady to avoid injury or broken parts.
- Do not forget which way to turn each pedal for removal.
FAQ: Removing Bike Pedals (2026)
Do I Need to Remove Pedals to Ship or Store My Bike?
Yes, removing pedals can help make your bike smaller and protect it during shipping or storage. Always wrap pedals and crank arms to prevent scratches.
How Often Should I Remove or Replace Pedals?
It’s a good idea to remove, clean, and grease pedals at least once a year. Replace pedals if they feel loose, make noise, or if the bearings are rough.
Additional Resources for Bike Maintenance Activities
- Look for beginner bike repair videos online.
- Check your local library or community center for bike maintenance workshops.
- Ask your local bike shop for free handouts or advice.
- Practice on an old bike before working on your main bike.
Now you know how to remove bike pedals step by step. With the right tools, a bit of patience, and these clear instructions, you can confidently work on your bike. Review these tips whenever you need and keep your bike in top shape!