
Understanding Your Bike’s Braking System
Overview of Common Bike Brake Types
Bikes mostly use two main brake types: rim brakes and disc brakes. Rim brakes grip the wheel’s rim to stop the bike. Disc brakes grip a metal disc attached to the wheel. Both types can use cables or fluid to work the brakes. Knowing what kind of brakes you have helps you tighten them correctly.
Key Components Involved in Brake Adjustment
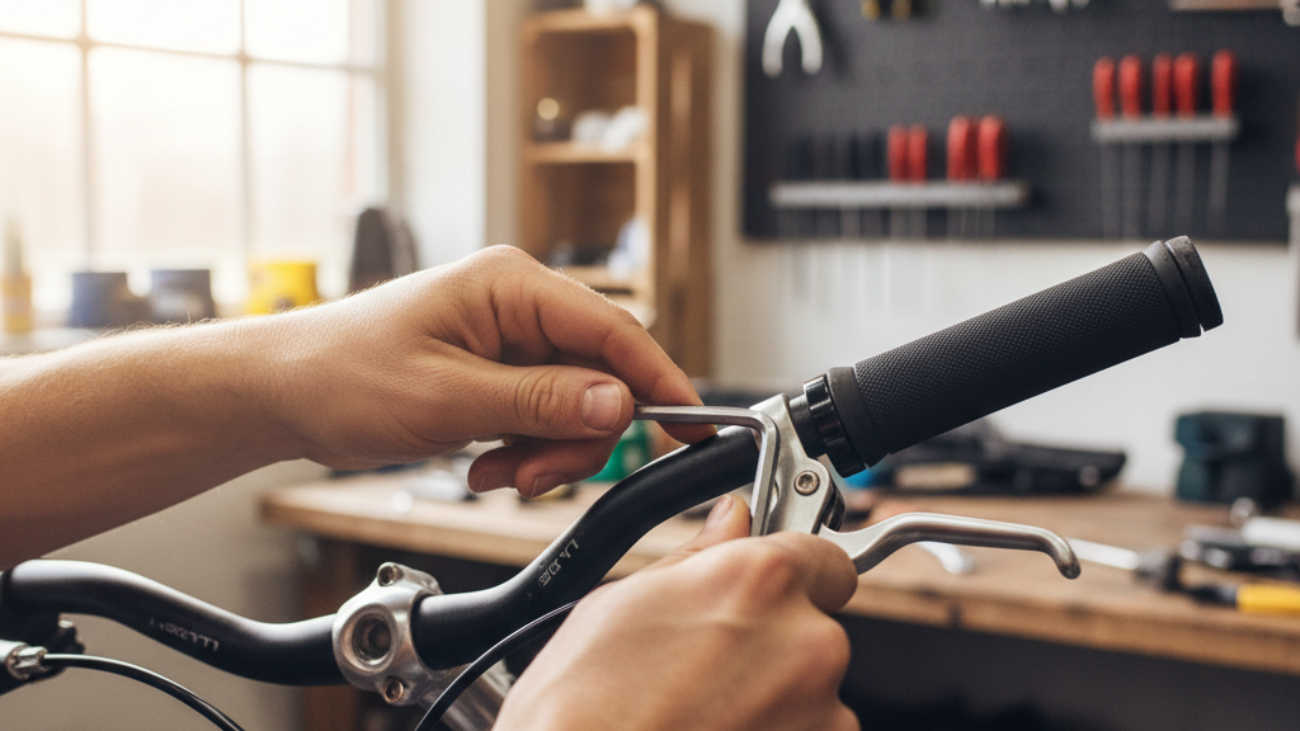
- Brake levers – At the handlebars, where you pull to stop.
- Brake cables or hydraulic lines – Connect the lever to the brakes.
- Brake pads – Press against the rim or rotor to slow you down.
- Barrel adjuster – A small knob to fine-tune cable tension.
- Brake arms or calipers – Hold the pads and move when you brake.
Safety Precautions Before Starting
- Make sure your bike is stable, such as on a bike stand or against a wall.
- Wear gloves to protect your hands.
- Don’t touch sharp or moving parts during adjustments.
Tools and Materials Needed to Tighten Bike Brakes
- Allen wrenches (usually 4mm, 5mm, or 6mm)
- Cable cutters (if you need to replace cables)
- Screwdrivers (Phillips and flathead)
- Needle-nose pliers
- Bike repair stand (optional, for stability)
- Clean rag (for wiping parts)
- Bike-specific lubricant (for moving parts)
How to Tighten Rim Brakes (V-Brakes and Caliper Brakes)
Step 1 – Inspecting Brake Pads and Cables
- Check the brake pads for wear. Replace if the pads are too thin (usually less than 3mm).
- Look for cracks or breaks in the cables. Replace damaged cables before adjusting.
Step 2 – Adjusting the Barrel Adjuster
- Find the barrel adjuster where the brake cable enters the brake lever or caliper.
- Turn the barrel adjuster counterclockwise to tighten the brakes. Go slowly and test the lever often. If the pads move closer to the rim, the brake is tightening.
Step 3 – Aligning and Tightening Brake Pads
- Loosen the bolt holding the brake pad with an Allen wrench.
- Position the pad so it touches only the rim, not the tire or the empty air. It should be flat against the rim.
- Hold the pad in place and tighten the bolt. Repeat for both sides.
Step 4 – Centering the Brake Arms
- Squeeze the brakes and check if both pads touch the rim at the same time.
- If not, adjust the small screw on each brake arm. Tighten the screw to move the pad away from the rim. Loosen it to move it closer.
Step 5 – Testing Brake Tension and Lever Feel
- Pull the brake lever. The pads should contact the rim before the lever touches the handlebar.
- If the lever pulls too far, use the barrel adjuster or cable anchor bolt to increase tension.
- Test by spinning the wheel and using the brakes to stop the bike. Repeat adjustments if needed.
How to Tighten Disc Brakes on a Bike
Step 1 – Identifying Mechanical vs. Hydraulic Disc Brakes
Mechanical disc brakes use a cable to move the pads. Hydraulic disc brakes use fluid-filled hoses. Check which type your bike uses before adjusting.
Step 2 – Checking Rotor Alignment
- Spin the wheel and watch the brake rotor. It should not wobble or rub against the pads.
- If the rotor bends, gently straighten it with your hands or a rotor tool.
Step 3 – Adjusting Cable Tension or Hydraulic Levers
- For mechanical disc brakes, turn the barrel adjuster or loosen the anchor bolt and pull the cable tighter, then retighten.
- For hydraulic brakes, check for air in the system. If the lever feels soft, you may need to bleed the brakes (consult a bike shop if unsure).
Step 4 – Pad Clearance and Contact Point Adjustment
- Loosen the caliper mounting bolts slightly so the caliper can move.
- Squeeze the brake lever to center the caliper over the rotor, then retighten the bolts while holding the lever.
- Make sure both pads are close to the rotor, but not touching it when the brake is off.
Step 5 – Ensuring Consistent Brake Performance
- Test the brakes by spinning the wheel and using the lever. The wheel should stop smoothly, and the lever should feel firm.
- Check for rubbing or noise. Readjust if needed.
Troubleshooting Common Brake Tightening Problems
Brakes Still Feel Loose After Adjustment
- Double-check cable tension and pad position.
- Replace worn out cables or housing.
Squeaky or Rubbing Brakes
- Clean rims and pads with a rag. Sand pads lightly if dirty.
- Realign pads or caliper if rubbing continues.
Uneven Stopping Power or Pulling to One Side
- Center the brake arms or caliper. Adjust pad positions.
- Check for bent rims, rotors, or loose bolts.
Lever Pull Feels Too Tight or Spongy
- Too tight: loosen cable; too spongy: check for air in hydraulic systems or replace cables for mechanical brakes.
Pro Tips: Advanced Brake Adjustment and Maintenance
Optimizing Brake Performance for Road vs. Mountain Bikes
Road bikes need precise, smooth brakes. Check adjustment more often. Mountain bikes need strong brakes for rough conditions. Upgrade to bigger rotors or better pads if needed.
Warning Signs That Signal More Serious Brake Issues
- Cracks in levers, cables, or pads
- Brakes don’t improve after adjustment
- Fluid leaking from hydraulic brakes
- Get help from a bike shop if you notice these problems.
Upgrading Components for Better Stopping Power
- Try performance brake pads or new cables
- Upgrade to hydraulic brakes for more control
Bike Brake Maintenance Checklist (Downloadable PDF)
- Inspect pads for wear every month
- Clean pads and rims or rotors every two weeks
- Check cables or hoses for damage every ride
- Test brakes before every trip
- Have brakes professionally serviced once a year
Visual Brake Adjustment Guide (With Infographics and Photos)
- See our step-by-step images and charts to identify your brake system and find key parts.
- Infographics show how to position brake pads, center calipers, and test lever pull.
Frequently Asked Questions on How to Tighten Brakes on a Bike
- How often should I tighten bike brakes? Check every month, or if you notice weaker stopping.
- Do I need special tools for hydraulic brakes? For basic adjustments, no. But for bleeding or repairs, you may need extra tools or a bike shop visit.
- Can I use any type of brake pad? No, choose pads made for your brake system and riding style.
- What if my brake lever still touches the handlebar after adjustment? The cable may be too loose, or pads might be worn out. Double-check both.
References and Further Reading (2026 Edition)
- Park Tool: Brake Service and Adjustment Guides
- Sheldon Brown: Bicycle Brake Basics
- Bicycle Safety (U.S. Department of Transportation)
- BikeManufacturer Manuals (for your specific bike model)
- Local bicycle shops and repair classes