
Tools You Need to Remove Bicycle Pedals
Essential Tools (Pedal Wrench, Allen Key)
To remove bicycle pedals, you need the right tools. The most important are a pedal wrench and an Allen key (usually 6mm or 8mm). A pedal wrench is thin and long, making it easy to fit between the pedal and crank. An Allen key fits into the socket on the pedal’s axle.
Alternative Tools for Emergency Removal
If you do not have a pedal wrench or the right-sized Allen key, a regular open-end wrench may work—if it fits snugly on the pedal axle. Use caution, as standard wrenches are often thicker and can slip.
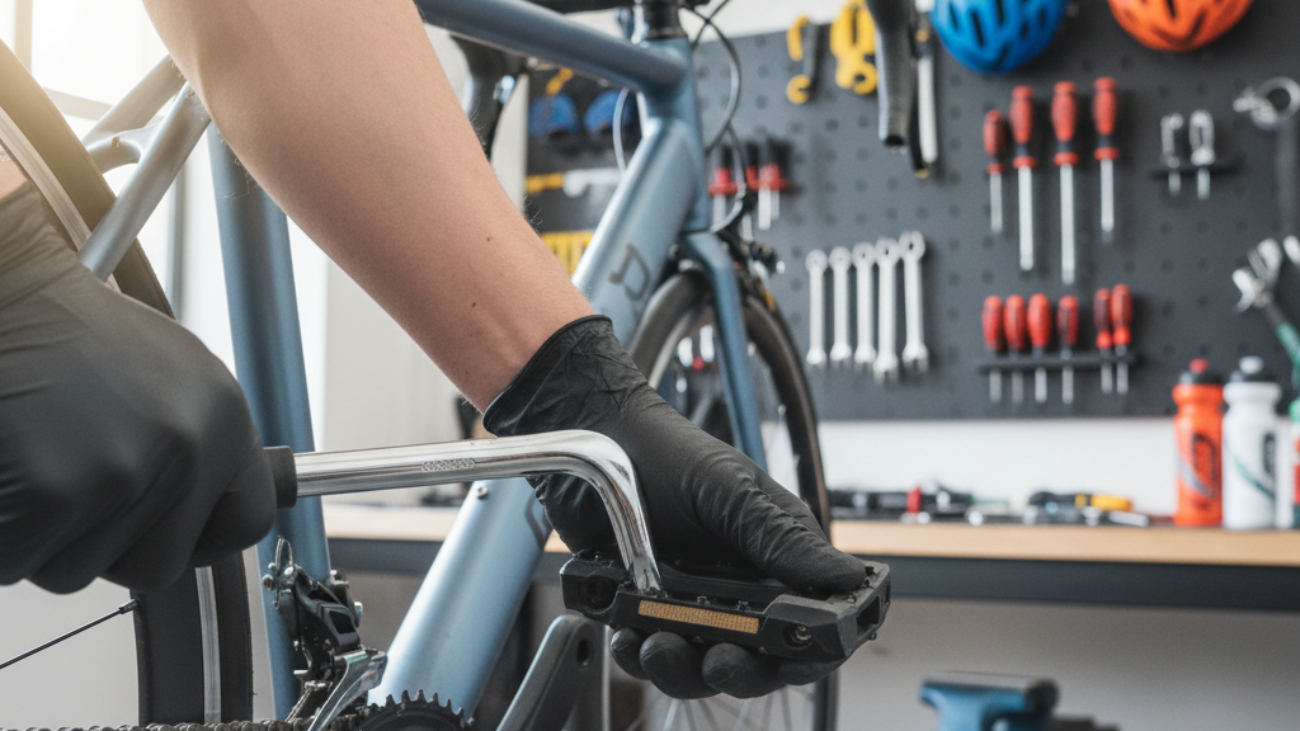
Safety Equipment and Bike Stabilization
Protect yourself by wearing work gloves to avoid scraped knuckles. To prevent the bike from moving, use a bike stand or lean your bike securely against a wall. Make sure the bike won’t slip as you work.
Understanding Pedal Threads and Pedal Removal Direction
Right vs. Left Pedal Thread Explained
Bicycle pedals have different threads on each side. The right pedal (drive side) uses a normal thread, so it tightens clockwise. The left pedal (non-drive side) has a reverse (left-hand) thread and tightens counterclockwise. This design prevents pedals from coming loose during riding.
How to Identify Pedal Markings (L/R)
Pedals are often marked with “L” (left) or “R” (right) stamped on the axle or pedal body. Double-check the markings before removing to avoid confusion and stripping threads.
Common Mistakes to Avoid with Pedal Threads
The biggest mistake is turning both pedals the same way. Always loosen the right pedal by turning counterclockwise and the left pedal by turning clockwise. Trying to force them the wrong way may damage your bike.
Preparing Your Bike for Pedal Removal
Positioning the Bike Safely
Place your bike on a flat surface. For the best position, use a bike stand or lean the bike against a wall. Point the crank arm you’re working on forward and parallel to the ground for better leverage.
Protecting Your Hands and Frame
Wear gloves to protect your skin from sharp edges. Place a rag or towel over the crank arm, if needed, to prevent scratches during wrenching.
Inspecting Pedals and Crankarms Before Removal
Look for dirt, rust, or damage on the pedals or crank arms. Clean off debris with a rag. If you see heavy rust or damage, removing the pedal may be harder and could require extra steps.
Step-by-Step Instructions: How to Remove Pedals on a Bicycle
-
Removing the Right Pedal (Drive Side)
1. Position the right crank arm forward and level.
2. Place the pedal wrench or Allen key onto the pedal axle.
3. Turn the wrench or key counterclockwise (toward the back wheel) to loosen. Use steady force.
4. Unscrew by hand when loose, and remove the pedal completely. -
Removing the Left Pedal (Non-Drive Side)
1. Move the left crank arm forward and parallel to the ground.
2. Fit the wrench or Allen key onto the pedal axle.
3. Turn clockwise (toward the back wheel) to loosen the left pedal.
4. Remove the pedal by unscrewing by hand once it’s loose. -
Hand-Threading and Tool Use Tips
Always start threading and unthreading pedals by hand to avoid cross-threading. If you feel resistance, stop and try again. Use the tool to finish removal only when the pedal turns smoothly.
-
Video Walkthrough: Pedal Removal Demonstration
Watch helpful video guides online by searching “How to remove bicycle pedals” on popular video platforms. Videos show real-time removal and technique for different pedal types.
Troubleshooting Stuck or Seized Bicycle Pedals
Why Pedals Get Stuck
Pedals can become stuck due to rust, lack of grease, or being installed too tightly. Time and weather can make removal harder.
Applying Lubricants or Penetrating Oil
If stuck, spray a few drops of penetrating oil or bike lubricant onto the pedal threads and wait 10-15 minutes. Oil can help break bond between metal parts.
Safe Techniques for Extra Leverage
If pedals still won’t budge, attach a longer wrench for more leverage. Make sure the bike is secured so it won’t tip over. Gently but firmly press the wrench in the correct direction.
When to Seek Professional Help
If the pedal remains stuck after several tries, visit a bike shop. Professionals have special tools and experience for tough jobs. Forcing a stuck pedal can damage your bike’s cranks.
Special Cases: Removing Pedals from Different Bikes
Road Bikes vs. Mountain Bikes
Road and mountain bikes use the same basic pedal removal process, but mountain bike pedals may need an Allen key inserted on the inside, while road bike pedals more commonly use a pedal wrench.
Children’s Bikes and E-Bikes
Children’s bikes have smaller parts; use a correctly sized wrench and be gentle. For e-bikes, ensure the power is off before starting, and handle heavier cranks with care.
Removing Clipless vs. Platform Pedals
Platform pedals are often removed with a pedal wrench. Clipless pedals may use an Allen key inserted at the back of the crank. Always check the manufacturer’s guide for specific steps.
Aftercare: Pedal Maintenance and Reinstallation Tips
Cleaning Threads and Crankarms
Clean the pedal threads and crankarm holes with a cloth. Remove any old grease or dirt before reinstallation. This prevents problems next time.
Applying Grease or Anti-Seize Compound
Apply a thin layer of bike grease or anti-seize to the pedal threads before reinstalling. Grease prevents sticking and rust, making future removal much easier.
Reinstalling or Replacing Pedals Correctly
Thread pedals by hand first. Remember: right pedal turns clockwise, left pedal turns counterclockwise. Tighten with the correct tool, but do not overtighten. Check for smooth rotation after installation.
Expert Tips and Safety Warnings for Removing Bicycle Pedals
- Double-check the thread direction before loosening.
- Avoid using excessive force; stop and reassess if stuck.
- Protect painted crankarms from tool marks with a rag.
- If working outdoors, keep tools and small parts away from dirt and grass.
- Store removed pedals in a safe place to avoid losing them.
FAQ: Common Questions About Bicycle Pedal Removal
- Q: Can I remove pedals without a pedal wrench?
A: Yes, if the pedal axle fits a normal wrench or has an Allen key socket. - Q: Why are pedals installed with opposite threads?
A: To prevent them unscrewing during cycling due to rotational force. - Q: How often should I grease pedal threads?
A: Re-grease every time you remove and reinstall pedals, or at least once a year. - Q: What if my pedal makes noise after reinstallation?
A: Remove, regrease, and reinstall, checking for tightness and smooth turn. - Q: Will removing pedals damage my bike?
A: Not if you follow correct steps and avoid using too much force.