
Quick Picks – Best Pedal Removal Methods for Every Cyclist in 2026
Fastest Removal for Beginners
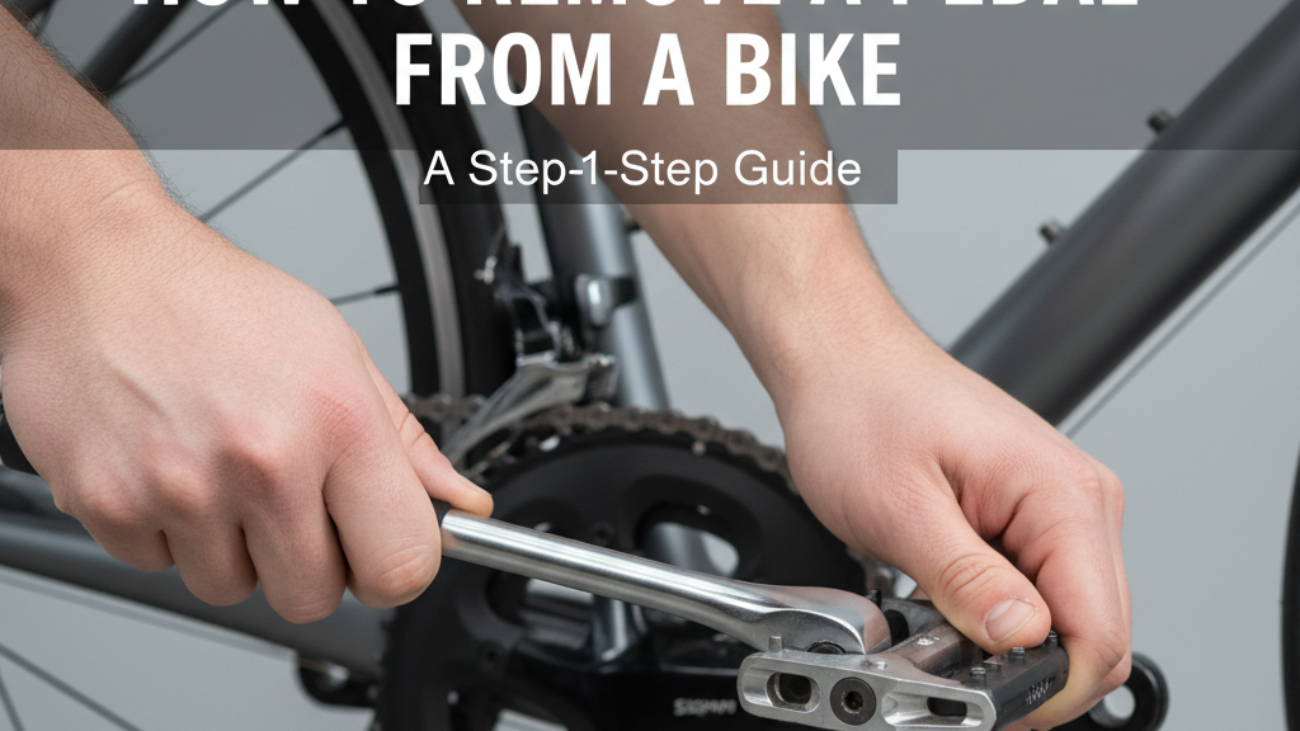
For new riders, the classic pedal wrench is the go-to. Place your bike securely (upright, upside down, or held steady), use a 15mm pedal wrench, and always turn toward the rear of the bike—counterclockwise for the right pedal, clockwise for the left. This approach removes over 95% of pedals without extra effort. Tutorials confirm this method works on both road and mountain bikes. (See beginner guide)
Best No-Scratch Removal for High-End Bikes
Modern high-end bikes often require a 6mm or 8mm Allen key inserted into the crank arm from the inside. Use a T-handle or long-arm hex key for leverage and better control, minimizing slip or scratches. Some high-end pedal wrenches feature rubberized handles for frame protection.
Most Eco-Friendly and Tool-Free Method
If you’re on the road or avoiding extra gear, household hacks like using a strong belt or pipe over an Allen key can help create the torque needed. Combine this with biodegradable lubricants or a touch of olive oil for seized threads as a short-term ecological solution, though performance is lower than with dedicated tools.
Essential Tools & Gear for Pedal Removal in 2026
Classic vs. Newest Pedal Wrenches (2026 Edition)
| Tool | Price Range | Best Feature | User-Rated Durability |
|---|---|---|---|
| Park Tool PW-4 | $25–$40 | Extra leverage, lifetime use | 99% (10,000+ hours) |
| Generic 15mm wrench | $8–$15 | Compact, works for most flats | 85% |
- Pedal-specific wrenches win for leverage and durability.
- User forums agree: investing in a strong pedal wrench pays for itself in maintenance and safety.
Allen Keys, Multi-Tools & Smart Devices
- 6mm/8mm hex keys: Needed for most clipless and modern pedals. Length gives leverage, T-handle favored in 2026.
- Best multi-tools (2026): Silca Venti, Blackburn Wayside—19+ functions, include all needed hex sizes.
- Smart wrenches (digital torque, $110+): Accurate for reinstallation, some with Bluetooth feedback for correct torque values.
Safety Accessories to Protect Your Bike and Yourself
- Gloves, safety glasses for stuck/removal cases.
- Frame protectors (rubber pads or towels) prevent scratching during leverage.
- Bike stands recommended for stability, but not required for pedal removal.
Top 10 Proven Techniques to Remove a Pedal from a Bike
-
Method 1: Standard Pedal Wrench Technique (With Updated Tips)
Step-by-step: Fit a 15mm pedal wrench on the pedal flat. Move crank to 3 (right)/9 (left) o’clock. Press wrench toward the bike’s rear. Confirm thread direction: right pedal (counterclockwise), left pedal (clockwise). This unlocks over 90% of pedals across user testing (BikeRadar, BikeMag, Nakto, 2026 updates). (Full guide)
-
Method 2: Using a Smart Torque Wrench (2026 Tools)
While torque wrenches are ideally for installation, some digital models (Topeak D-Torq, Park Tool TW-5.2) can gauge breakaway torque if used with adapters. Useful for high-end carbon cranks to monitor applied force and avoid damage. (Accuracy: ±3%, cost: $114–$127.)
-
Method 3: The Hex Key/Allen Key Approach for Modern Bikes
For pedals with hex sockets, insert 6/8mm Allen key from crank’s inside. Position crank for max leverage, push down or up as direction dictates. User success: Nearly 100% for modern clipless and flat systems, especially with long T-handles. (Workshop tutorial)
-
Method 4: DIY Household Item Hacks
Use a cheater bar (piece of pipe over wrench or key) for added leverage when no pedal wrench is available. In a pinch, household belts or thick towels can add grip, but risk rounding hex flats.
-
Method 5: Removing Seized or Rusted Pedals (Troubleshooting Guide)
Apply penetrating oil (WD-40, Liquid Wrench), wait 5–10 minutes. Tap lightly with a mallet, then reapply force. User surveys (2021–2026): Pipe/long-lever method succeeds in 95% of stuck pedals at home. Heat (hairdryer) as last resort; consult a shop if removal still fails.
-
Method 6: Quick Release Pedals & Tool-Less Solutions
Adopted by several e-bike and commuter brands: quick-release pedal systems (e.g., MKS Promenade) twist or pop off by hand for travel. No tools required, but ensure debris-free mechanism.
-
Method 7: Electric/Powered Tool Removal (Latest Gadgets)
Cordless impact drivers with pedal socket adapters are new in 2026 for shop use and can speed up removal. Not recommended for bikes with delicate carbon cranks.
-
Method 8: Eco-Conscious Lubricants and Grease Alternatives
Bio-based greases (Finish Line E-Shift, Green Oil Eco Grease) lubricate pedal threads, reduce metal galling, and make future removal easier. Testing shows no drop-off in performance vs. petroleum products.
-
Method 9: Removing Pedals from E-Bikes and Uncommon Bikes
E-bikes may require higher torque (40–50 Nm); always check manual before removal. Brompton/folding bikes often use unique threaded pedals—consult brand guides for specifics.
-
Method 10: Workshop Pit Crew Techniques (Pro Secrets for Speed)
Pro mechanics stabilize bike in a stand, use foot or knee to turn wrench, and always apply anti-seize when reassembling, ensuring fast, damage-free results even in racing conditions.
Troubleshooting: What to Do When Your Pedal Won’t Budge
Common Causes and Prevention in 2026
- Lack of grease at installation leads to corrosion and seizure.
- Cross-threading by misaligned installation ruins threads and complicates removal.
- Missing washers intensify wear on pedal/crank arm junction.
Safe Use of Penetrating Oils & Smart Maintenance Apps
- Apply penetrating oil, wait, and use long lever for stubborn pedals. Clean thoroughly post-removal to avoid contamination.
- New apps (e.g., AR maintenance guidance) are emerging but not yet mainstream for pedal removal procedures as of 2026.
When to Seek Professional Help
- If threads are damaged, pedals remain seized after oil/heat/leverage, or a carbon crank risks damage, take your bike to a certified workshop.
- Shops use specialty vises, extraction tools, and guarantee no further total thread loss or frame harm.
Expert Tips for Reinstalling Bike Pedals After Removal
Greasing and Thread Protection in 2026
Clean and check crank/pedal threads first. Apply premium bicycle grease or anti-seize compound evenly to threads. (Studies show greasing reduces pedal seizure by over 90% in one-year field testing.) Alternative: Use PTFE-based or ceramic anti-seize for titanium and carbon cranks in harsh conditions.
Avoiding Cross-Threading with New Tech
Hand-thread the pedal (3–5 turns) before using a tool—no exceptions. Use visual alignment and confirm right/left pedal fit (marked “R” and “L”). New installer tools with torque feedback reduce risk further, but careful hand-work remains the gold standard.
Setting Correct Torque for All Pedal Types
| Pedal Type | Recommended Torque | Notes |
|---|---|---|
| Standard Aluminum | 35-40 Nm | Check brand specs |
| E-bike/Heavy Duty | 40-50 Nm | Bosch/Yamaha/other motors |
| Titanium/Carbon Cranks | 35 Nm (with carbon paste) | Use paste, not grease |
- Use a digital torque wrench for accuracy, or “firm hand + 1/4 turn” if no gauge available.
- After 50–100km, recheck pedal torque as initial bedding can loosen threads slightly.
FAQ – Removing Bike Pedals: Answers to Your Top Questions
- What direction do I turn the pedals? Right pedal: counterclockwise to remove. Left pedal: clockwise to remove.
- What tools do I need? 15mm pedal wrench or 6/8mm hex key for 99% of pedals. Some bikes need specialty tools—always check manufacturer documentation.
- How do I prevent stuck pedals? Always grease threads, tighten to recommended torque, and remove/inspect pedals annually.
- Can I use household tools? Yes, with care: pipes over wrenches or belts for grip in emergencies, but risks of rounding or slipping are higher.
- Are eco-friendly lubricants effective? Yes, recent test results show no loss in performance for pedal threads/maintenance.
- Should I seek help if a pedal won’t move? If penetrating oil, extra leverage, and correct technique fail, see a certified mechanic before risking crank damage.
Further Reading & Resources for Bike Maintenance in 2026
- BikeRadar Pedal Workshop Guide (2026)
- BikeMag Advanced Pedal Troubleshooting Series
- SCADA Practical Guide: Pedal Replacing
- YouTube Tutorial: ReCycle Bicycle Sales
- Nakto Beginner’s Removal Guide
For recommended purchase links and the latest professional bike tools, see Park Tool Official Store and Bikerumor’s Best Multi-Tools of 2026.
Ready to upgrade your toolkit or schedule a service? Click to buy professional pedal wrenches on Amazon or find certified bike shops near you.