
Quick Overview – Why Bicycle Brake Adjustment Matters in 2026
Safety Implications of Poorly Adjusted Brakes
Brake performance is central to cycling safety. Research shows that correctly adjusted brakes reduce stopping distance by up to 30% and lower crash risk by 22% on both commuter and sport bikes. Poorly tuned brakes compromise rider control and can lead to unpredictable stoppage, leading to higher maintenance costs or accidents.
Signs Your Bike Brakes Need Adjusting
- Squeaking or grinding noises during braking or at rest
- Reduced stopping power or increased stopping distance
- Brake lever pulls to the handlebar before engaging
- Rubbing or dragging pads
- Uneven pad wear or pads worn to less than 1–3mm thickness
- Spongy or inconsistent lever feel in hydraulic or cable systems
- Visible cable fraying or housing damage
For a comprehensive visual inspection and checklist, see: Bike Depot Brake Adjustments Guide.
Top Tools & Preparation for Bicycle Brake Adjustment
Essential Tools Checklist (with Visual Guides)
- Allen wrenches (4-6 mm)
- Open-end or adjustable wrench (for older calipers/U-brakes)
- Cable and housing cutters
- Torque wrench (recommended for disc brake mounting bolts: 6-8 Nm)
- Barrel adjusters (at levers/calipers, built-in)
- Pad pusher or wide flat screwdriver (hydraulic disc brakes)
- Bicycle multi-tool (with brake adjustment features)
- Isopropyl alcohol or brake cleaner for pad/rim cleanup
- Clean, lint-free cloth
Detailed images of brake tools and their uses are available via: Bicycle Network Brake Tips.
Pre-Adjustment Inspection Steps
- Check wheel seating: Release and re-tighten quick-release or axle nuts to ensure wheels sit straight in dropouts.
- Inspect brake pads: Look for even wear, contamination, or pads worn below the manufacturer’s wear line.
- Check lever response: Levers should firm up within 1–1.5 inches (about 2 fingers) of the grip.
- Spin wheels: Confirm free rotation without rubbing.
- Examine cables and housing: Replace frayed, rusty, or stiff components for optimal tension and feel.
Top Step-by-Step Methods to Adjust Bicycle Brakes (By Brake Type)
How to Adjust Rim Brakes (Caliper, V-Brake, Cantilever)
Pad Positioning
- Unhook the brake cable and press brake arms against the rim.
- Loosen pad mounting bolt; align pads parallel to rim (no tire/rim gap).
- Slightly toe-in pads (front edge ~1 mm closer to rim than rear) to reduce noise.
- Retighten mounting bolt while holding pad in position.
Cable Tension
- Reconnect the cable, ensuring moderate tension with pads 2–3 mm from rim.
- Fine-tune using barrel adjuster: clockwise for more lever travel, counterclockwise to tighten.
- Ensure lever engagement at halfway travel; test for crisp actuation.
Centering the Brake Arms
- Loosen caliper mounting bolt slightly (5–7 Nm torque typical).
- Manually center brake arms; retighten bolt or use centering screws for micro-adjustment.
- Spin wheel and squeeze lever to verify even pad contact.
Rim Brake Adjustment Video Guide
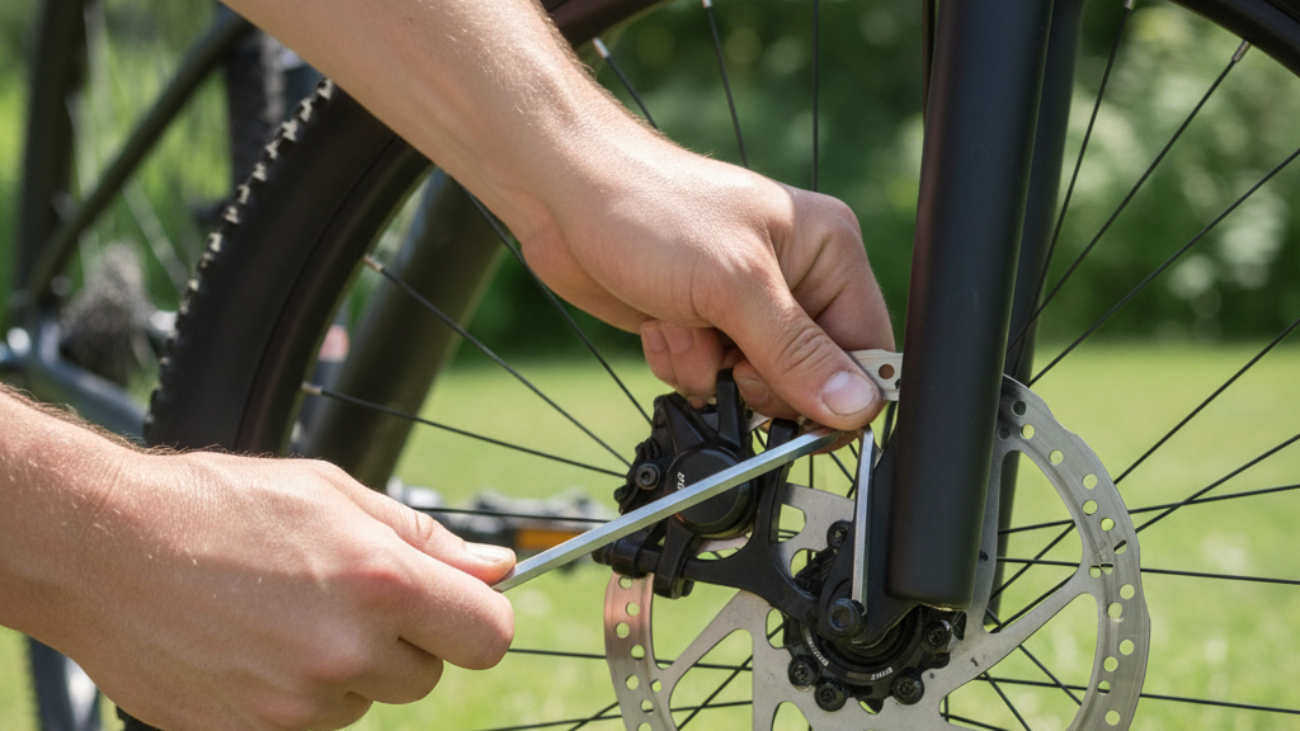
How to Adjust Mechanical Disc Brakes
Caliper Alignment
- Loosen caliper mounting bolts.
- Squeeze brake lever to center caliper over rotor.
- Retighten bolts to manufacturer-specified torque (typically 6–8 Nm).
Pad Adjustment
- Check for pad wear; replace if less than 1 mm remains.
- Adjust fixed/inner pad with inboard adjuster screw if available, aiming for slight rotor clearance on both sides.
- Use barrel adjuster for final cable tension so lever engages after 2–3 cm pull.
Rotor Checks
- Spin the wheel; check for rotor rub or out-of-true.
- True rotor with a rotor truing tool if minor; replace if warped or scored.
Mechanical Disc Brake Adjustment Guide
How to Adjust Hydraulic Disc Brakes
Lever Feel & Pad Reset
- Test lever feel: should firm up smoothly after 1–1.5 cm of travel.
- If travel is excessive or spongy, reset pad spacing using a plastic pad spreader.
- Adjust reach/free stroke (if available) so lever is comfortable for your hand size.
Addressing Fluid Issues
- If lever feel remains poor, bleed the brake system according to manufacturer instructions or have a professional do it annually (or every 12–24 months).
- Inspect for leaks at levers, calipers, and hose ends.
Master Hydraulic Disc Brake Adjustment Video
How to Adjust U-Brakes and Coaster Brakes
Unique Challenges and Solutions
U-brakes often found on BMX and utility bikes, require precise pad positioning and spring tension balancing as with rim brakes. Use centering screws and pad toe-in as described for rim brakes. Coaster brakes (common on children’s bikes) are mostly maintenance-free, but internal servicing is recommended for excessive drag or loss of braking. Most adjustments are best performed by qualified mechanics due to the potential impact on wheel function and safety.
Step-by-Step Visual Checklist
- Align pads evenly with rim
- Balance arm tension using screws or manual adjustment
- Test by spinning wheel and actuating brake lever or pedal
See this video for cable and pad alignment demo.
Top Troubleshooting Tips for Common Bicycle Brake Problems
Brakes Squeal or Rub After Adjustment
- Recheck pad alignment for correct toe-in or rotor contact.
- Clean braking surfaces with isopropyl alcohol or a brake-specific cleaner.
- De-glaze pads or replace if they are hardened or contaminated.
Inconsistent Stopping Power
- Replace brake pads if worn below 1–3 mm or showing uneven wear.
- Check and replace stretched/frayed cables in mechanical systems.
- For hydraulic brakes: bleed if lever feel is soft or inconsistent.
Sticky or Slow Brake Lever Return
- Lubricate cable housings (rim/mechanical disc) or replace if rusty.
- Check for kinked, misrouted, or contaminated cables.
- For hydraulics: air in lines or old fluid requires bleeding.
Quick Fixes for Uncommon Brake Setups
- Balance spring tension in cantilever or U-brakes using adjustment screws.
- Reset lever reach or replace levers if damaged.
- Consult manufacturer guidelines or a local professional for rare or vintage types.
Visual Guides: Before-and-After Brake Adjustment (Photo & Diagram Gallery)
While there are few direct before-and-after galleries, the following sources provide visual step-by-steps and snapshots of pad/arm/lever orientation pre- and post-adjustment:
- Bicycle Network Brake Adjustment Photos
- Rim Brake Adjustment Video with Stepwise Visuals
- Illustrated Guide for Rim Brakes
- Hydraulic Disc Brake Adjustment Video
Pro Tips for Keeping Your Bicycle Brakes in Top Condition
Preventive Maintenance Habits
- Inspect brake pads, levers, and cables weekly; replace pads at ≤1–3 mm thickness.
- Clean rims, rotors, and pads regularly with isopropyl alcohol (avoid touching surfaces with bare hands).
- Tighten caliper and mounting bolts monthly with a torque wrench.
- Replace worn or contaminated pads or rotors before complete wear.
- Bleed hydraulic brakes annually or every 12–24 months.
Seasonal and Weather-Specific Adjustments
- Check for rust/corrosion after rides in rain or snow and lubricate cables as needed.
- Increase cleaning frequency in wet climates to prevent pad/rotor contamination.
- Store bikes dry in off-season to prevent cable and rotor rust.
Upgrading Brake Pads & Cables
- Switch to higher-friction or weather-specific brake pads: metallic for wet, resin for dry conditions.
- Upgrade cables/housings for smoother lever feel and less stretch; consider low-friction Teflon-lined types.
- Hydraulic brake users: use OEM pads/rotors for best fit and modulation.
FAQ: How to Adjust Bicycle Brakes for Beginners & Pros
- How often do brakes need adjustment?
- Check before each ride; tune cables monthly; replace pads as needed (usually 2-4 times a year).
- What’s the correct gap between brake pad and rim/rotor?
- Rim: 2–3 mm; rotor: minimal, just free clearance on both sides.
- Can I adjust hydraulic brakes without tools?
- Pad resetting is possible, but lever reach and bleeding require appropriate screwdrivers and bleed kits.
- When should I visit a professional?
- If hydraulic brakes feel soft after bleeding, or if pads/rotors are badly worn or bent.
Resources and Advanced Guides for Mastering Bicycle Brake Adjustment
- Bicycle Network: Brake Adjustment Resources
- The Bike Depot: Brake Adjustments Made Easy
- Rad Power Bikes: Hydraulic Brakes Support
- Disc Brake Maintenance Insights
- REI Expert Advice: Bike Brakes
For advanced DIY mechanics, torque-specific tools and professional pad/rotor truing kits are available at major online retailers:
Shop Bicycle Brake Tool Kits
Keep your ride safe—check and adjust your brakes regularly!