
Understanding Bicycle Brakes: Types and Key Differences
Rim Brakes vs. Disc Brakes: Which Do You Have?
Before you start to adjust bicycle brakes, it’s important to know which type you have. Most bikes use either rim brakes or disc brakes. Rim brakes grip the metal edge of your wheel, called the rim. You can usually see the brake pads squeeze the rim when you pull the lever. Disc brakes use a metal disc, or rotor, attached to the wheel hub. The brake pads clamp onto the rotor instead of the rim. Knowing your type is the first step in proper maintenance.
Mechanical vs. Hydraulic Systems Explained
Both rim and disc brakes can use either a mechanical or hydraulic system. Mechanical brakes use cables to transmit force, while hydraulic brakes use fluid in special lines. Mechanical brakes are simpler and more common, especially on beginner and kids’ bikes. Hydraulic brakes give smoother power and need less effort but require more care when adjusting.
Essential Tools and Preparation for Adjusting Bicycle Brakes
Tool Checklist for Every Brake Type
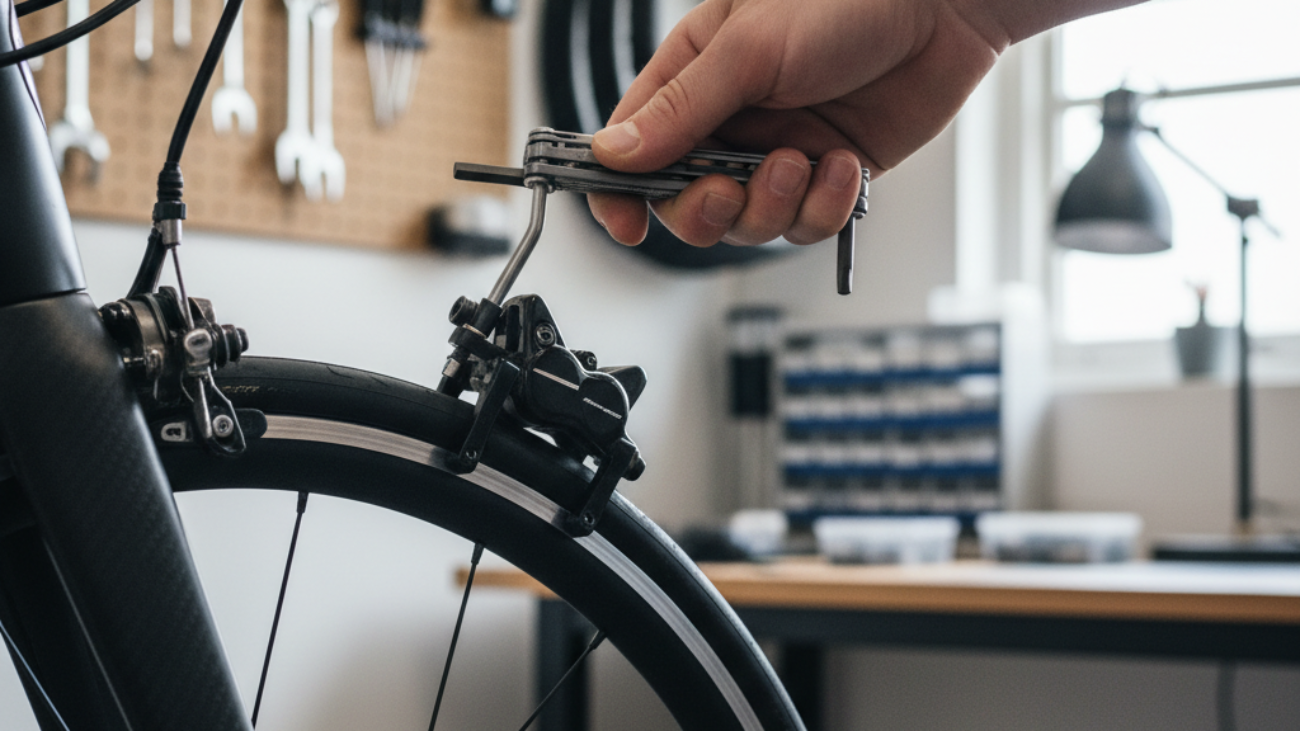
- Allen wrenches (commonly 4, 5, or 6 mm)
- Cable cutters
- Phillips and flathead screwdrivers
- Bicycle grease
- Clean rag
- Barrel adjuster tool (for fine tuning)
- Pliers (for pulling cables)
- Isopropyl alcohol (for disc brakes)
- Bike stand (optional, but useful)
Safety Precautions Before You Begin
- Start on stable, flat ground. If possible, use a bike stand.
- Check bike for any loose parts or damage.
- Wear gloves and eye protection if available.
- Keep your hands clear of moving parts while testing brakes.
Core Steps: How to Adjust Rim Brakes
Inspecting and Cleaning Rim Brakes
- Spin the wheel and look at the brake pads. They shouldn’t wobble or drag on the rim.
- Check the rim for dirt or oil. Wipe both the rim and pads clean with a rag.
- If pads are worn down (less than 3 mm thick or uneven), replace them before going further.
Aligning Brake Pads and Calipers
- Loosen the bolt holding each brake pad using an Allen wrench.
- Align each pad so it fully contacts the rim when you pull the brake lever and doesn’t touch the tire.
- Re-tighten the bolts while holding the pad in the correct position.
- Check that both pads hit the rim at the same time by squeezing the lever slowly.
Adjusting Cable Tension for Precise Stopping
- Locate the brake cable where it enters the caliper.
- If brakes feel loose, use pliers to pull the cable tighter and re-tighten the anchor bolt.
- If they feel too tight, gently loosen the anchor bolt and release some cable, then tighten again.
Test and Fine-Tune: Barrel Adjuster Techniques
- Locate the barrel adjuster on your brake lever or caliper.
- Turn the barrel adjuster counter-clockwise to tighten the cable and bring pads closer to the rim.
- Turn clockwise to give more space if brakes are rubbing.
- After every adjustment, spin the wheel and squeeze the lever to test stopping power and clearance.
Core Steps: How to Adjust Disc Brakes
Visual Guide: Mechanical vs. Hydraulic Disc Brake Adjustment
Mechanical disc brakes have a cable, just like rim brakes. Hydraulic disc brakes have a sealed system with fluid. Mechanical types let you adjust cable tension with tools. For hydraulic, most adjustments are made at the lever or with pad placement.
Caliper Centering and Rotor Alignment
- Loosen the two bolts holding the brake caliper to the frame slightly—don’t remove them.
- Pull the brake lever hard and hold it. This centers the caliper on the rotor.
- While holding the lever, tighten both caliper bolts evenly.
- Spin the wheel. Make sure no part of the rotor rubs the pads. If it does, repeat the process.
Adjusting Pads and Lever Feel
- For mechanical disc brakes, turn the barrel adjuster at the lever or caliper to set proper lever feel.
- For hydraulic brakes, check the manufacturer instructions for your model; usually, you can dial in lever reach or pad contact point with small screws near the lever.
- If pads are worn thin, replace them before continuing.
Testing for Rub, Noise, or Drag
- Spin the wheel and listen: a quiet wheel means correct adjustment.
- If you hear scraping or feel resistance, look for marks on the rotor or pads and readjust the caliper.
- Test stopping by squeezing the lever hard. The bike should stop quickly, and the lever shouldn’t touch the handlebar.
Troubleshooting Common Bicycle Brake Problems
Squeaking, Rubbing, or Weak Brakes—Quick Fixes
- Clean pads and rims or rotors with isopropyl alcohol.
- Sand the surface of brake pads lightly if they glaze over.
- Check for loose bolts and tighten as needed.
Dealing with Stuck, Sluggish, or Uneven Braking
- Inspect cables and housing for rust or bends. Replace if damaged.
- Lubricate pivot points on rim brakes with a drop of light oil.
- For hydraulic brakes, check for air in the system—bleed if necessary (see manufacturer’s guide).
When to Replace Pads or Seek Professional Help
Replace pads if less than 3 mm remains or if braking feels unreliable. If you hear grinding or can’t solve problems after adjustment, visit a professional bike shop.
Specialized Advice: MTB, Road, and Kids’ Bikes
Brake Adjustment Tips for Mountain Bikes
MTBs experience more dirt and vibration. Clean brakes often. Consider slightly wider pad clearance to avoid rubbing on muddy rides.
Road Bike Brake Nuances
Road bikes use lighter parts and higher-pressure rims. Make sure pads are smooth, centered, and “toe-in”—the front of the pad touches the rim first to prevent squeal.
Safe Adjustments for Children’s Bicycles
Kids need brakes they can reach and squeeze easily. Set levers close to the handlebars, and check brake performance frequently. Never set pads where they could touch the tire.
Mistakes to Avoid When Adjusting Bicycle Brakes
Most Frequent DIY Errors and How to Prevent Them
- Forgetting to tighten mounting bolts
- Setting pads too high or too low on the rim or rotor
- Leaving slack in the cable
- Not checking brake action after adjustments
Myths vs. Facts in Brake Maintenance
- Myth: All brakes work the same way.
Fact: Rim and disc, mechanical and hydraulic brakes work differently. - Myth: Squeaky brakes are always dirty.
Fact: Squeal can come from poor pad alignment, worn parts, or contamination.
Bicycle Brake Adjustment FAQ for 2026
Top Questions from Beginner and Intermediate Cyclists
- How often should I adjust bicycle brakes? Usually every few months or sooner if performance drops.
- Can I mix different pads or parts? No, always use parts recommended for your brake system.
- What do I do if the brake lever feels soft? Check for cable stretch or air in hydraulic lines.
How Often Should You Check or Adjust Brakes?
Inspect bicycle brakes every month and after rides in wet or muddy conditions. Adjust as soon as you feel a drop in stopping power, more lever travel, or hear unusual noises.
Resources: Visual Aids, Video Walkthroughs, and Expert Support
Interactive Diagrams and Tutorials
For more help, look for trusted online bike repair sites. Many offer interactive diagrams and step-by-step video tutorials to show exactly how to adjust bicycle brakes.
Where to Find More Help or Community Support
Check with your local bike shop, visit online cycling forums, or join a community bike co-op. Most are happy to answer questions or walk you through maintenance.