
Quick Overview: Why Proper Brake Adjustment Matters
Safety and Performance Benefits
Proper bike brake adjustment is crucial for your safety and for the best riding experience. Well-adjusted brakes help you stop quickly and smoothly, reduce accidents, and make your ride more enjoyable. When your brakes work correctly, you can ride with confidence, knowing you can stop when you need to.
Signs Your Bike Brakes Need Adjusting
- Your bike takes longer to stop than usual.
- You hear squeaking, rubbing, or grinding when you use the brakes.
- Brake levers pull too close to the handlebars.
- You feel uneven or weak stopping power.
- The bike slows down even when you are not braking.
Types of Bike Brakes and Key Differences
Rim Brakes vs. Disc Brakes Explained
There are two main types of bike brakes: rim brakes and disc brakes. Rim brakes work by squeezing pads onto the sides of the bike wheels (the rims). Disc brakes use a special metal disc (called a rotor) attached to the wheel hub. When you pull the brake lever, pads press onto the rotor to slow the bike.
Hydraulic vs. Mechanical Brake Systems
Both rim and disc brakes can use two kinds of systems:
- Mechanical brakes: These use a cable to pull the brakes. They are simple and easy to adjust with basic tools.
- Hydraulic brakes: These use brake fluid in a closed system to press the pads. They give strong stopping power and smooth feel but need special care and tools for adjustment.
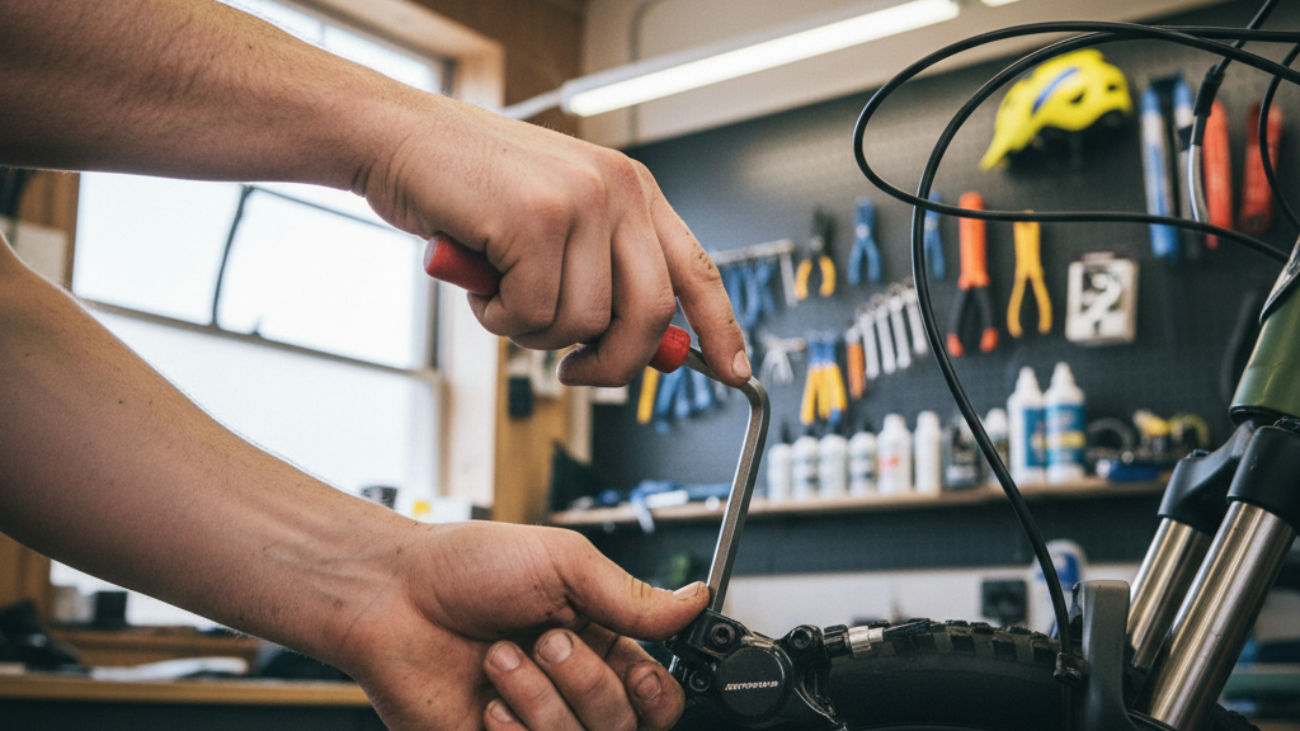
Tools and Preparations Before Adjusting Bike Brakes
Essential Tools Checklist
- Bicycle repair stand (optional, but helpful)
- Allen wrenches (usually 4, 5, or 6mm)
- Phillips and flathead screwdrivers
- Cable cutters (for mechanical brakes)
- Bicycle lubricant
- Clean rag or paper towel
- Small adjustable wrench
- Isopropyl alcohol (for cleaning disc rotors)
- Zip ties (for holding cables, optional)
How to Do a Pre-Adjustment Inspection
- Check both brake levers for smooth movement and make sure they spring back after you release them.
- Look at the brake pads. Are they worn out, cracked, or tilted?
- Examine brake cables or hoses for fraying, rust, or leaks.
- Spin each wheel. Do the rims or rotors rub against the pads?
- Check that all fastening bolts are tight on brake parts.
- If you spot anything broken or very worn, replace it before adjusting your bike brakes.
How to Adjust Rim Brakes on a Bike
Step 1: Centering the Brake Calipers
Most rim brakes use calipers to hold the brake pads in place. To center them:
- Look at the gap between each brake pad and the rim. The space should be even on both sides.
- If one pad is closer, use an Allen wrench to loosen the caliper bolt slightly.
- Move the caliper left or right until the pads are the same distance from the rim.
- Hold it in place and tighten the bolt.
Step 2: Adjusting Brake Pads for Optimal Contact
- Check that each brake pad sits flat against the rim. The entire pad should touch the rim when the brake is used.
- Make sure the pad doesn’t hit the tire or stick off the bottom of the rim.
- If needed, use an Allen wrench to loosen the pad bolt, adjust its angle or position, then re-tighten.
- When finished, squeeze the lever and check that the pads hit the rim evenly and fully.
Step 3: Fine-Tuning Cable Tension
- If your brakes feel loose, locate the barrel adjuster (a small knob near where the cable enters the brake).
- Turn the barrel outward to increase tension, making the brakes tighter.
- If you need a bigger adjustment, use an Allen wrench to loosen the cable anchor bolt, pull the cable a little tighter, and tighten it back down.
- Test the lever feel. The brakes should engage about halfway to the handlebars, not all the way.
Step 4: Checking and Adjusting Brake Levers
- With the bike on the ground, pull each brake lever firmly.
- If the lever hits the handlebar or feels too loose, repeat the cable tension steps above.
- Some levers have a small screw to change their starting position. If so, use a screwdriver to adjust lever reach.
- Make sure both brakes engage quickly and stop the wheel firmly.
How to Adjust Disc Brakes on a Bike
Step 1: Aligning the Caliper and Rotor
- Loosen the two caliper mounting bolts using an Allen wrench—just enough so the caliper can move side to side.
- Squeeze the brake lever firmly to center the caliper over the rotor.
- While holding the lever, re-tighten the caliper bolts evenly.
- Release the lever and spin the wheel to check for rubbing.
Step 2: Setting Pad Clearance
- Look through the caliper at the gap between each pad and the rotor. The space should be equal and very small, just enough so the rotor spins freely.
- For mechanical disc brakes, turn the small adjustment knobs (usually red or black) to move the pads closer or farther from the rotor as needed.
- For hydraulic disc brakes, pad clearance is usually self-adjusting, but make sure pads aren’t sticking or scraping.
Step 3: Adjusting Hydraulic vs. Mechanical Disc Brakes
- For mechanical disc brakes, use a barrel adjuster or cable anchor bolt like rim brakes. Tighten if the lever feels soft.
- For hydraulic disc brakes, check for air in the lines (spongy feel means bleeding may be needed) and make sure the reservoir is not leaking.
Step 4: Eliminating Brake Rub and Squeal
- If your disc brakes squeal, wipe the rotor with isopropyl alcohol and let it dry.
- Reseat the wheel to make sure it is straight in the frame or fork.
- If rubbing continues, repeat the caliper alignment process and check for bent rotors.
Advanced Troubleshooting: Fixing Common Brake Problems
Brakes Still Squeaking After Adjustment
- Clean both rims or rotors and brake pads using isopropyl alcohol.
- For rim brakes, toe-in the leading edge of the brake pads—angle them slightly so the front touches the rim first.
- Try different pad compounds if noise continues.
Minimizing Lever Travel and Soft Feel
- If your brake lever pulls too close to the handlebar, increase cable tension or add fluid to hydraulic systems after checking for leaks or air bubbles.
- Replace worn pads, as thin pads make the lever feel soft and travel farther.
Dealing With Sticking or Dragging Brakes
- Check for bent rims or rotors and fix or replace them if needed.
- Lubricate pivots and moving parts on rim brakes (not pads or rims).
- Replace kinked, rusted, or dirty cables.
Tool-Free Brake Adjustments for On-the-Go Repairs
Easy Cable Tightening by Hand
- Find the barrel adjuster near the brake lever or caliper.
- Turn it outward by hand to make brakes tighter if they feel loose.
Making Pad and Lever Adjustments Without Tools
- Sometimes, you can move mechanical rim brake arms by hand to center them for a quick fix.
- Many brake levers have small dials to change lever reach with your fingers.
Extra Tips for Long-Term Brake Performance
Routine Maintenance Schedule
- Check brake adjustment every month or before big rides.
- Clean rims or rotors often to keep stopping power strong.
- Lubricate brake pivots and cables every few months.
When to Replace Pads, Cables, or Rotors
- Replace brake pads when they are less than 3mm thick—or sooner if they are cracked or glazed.
- Change frayed or rusty brake cables right away.
- For disc brakes, replace the rotor if it’s visibly warped or worn below the minimum thickness stamp (usually 1.5mm).
Video & Visual Resources: Mastering Bike Brake Adjustments
Top Recommended How-To Videos (2026)
- Global Cycling Network: How to Adjust Your Bike Brakes Properly
- Park Tool: Rim Brake Adjustment & Setup
- RJ The Bike Guy: Disc Brake Adjustment for Beginners
- Check major cycling brands’ YouTube channels for updated content in 2026
Infographics and Visual Cheat Sheets
- Bike radar’s “Brake Adjustment Basics” poster
- Park Tool’s visual step-by-step guides
- Local bike shops often offer printable charts for reference
FAQ: Bike Brake Adjustment Questions Answered
- How often should I check or adjust brakes on a bike? – Inspect your bike brakes at least once a month and after any crash or long, muddy ride.
- Do I need special tools for every bike brake adjustment? – Most brake adjustments need just basic tools. Hydraulic brakes may need extra tools and fluid for bleeding.
- Why are my brakes still weak after adjustment? – This could be due to worn pads, loose cables, or air in hydraulic lines. Carefully follow the troubleshooting section above.
- Can I adjust my bike brakes myself if I’m a beginner? – Yes! With this step-by-step guide and patience, you can safely adjust your brakes and learn important bike maintenance skills.
By following this complete guide on how to adjust brakes on a bike, you’ll keep your bike safe, reliable, and fun to ride. Practice makes perfect, so don’t be afraid to try these steps and ask for help if needed.