
Quick Overview – Top 5 Brake Adjustment Methods in 2026
Best for Beginners: Traditional Cable Brake Adjustment
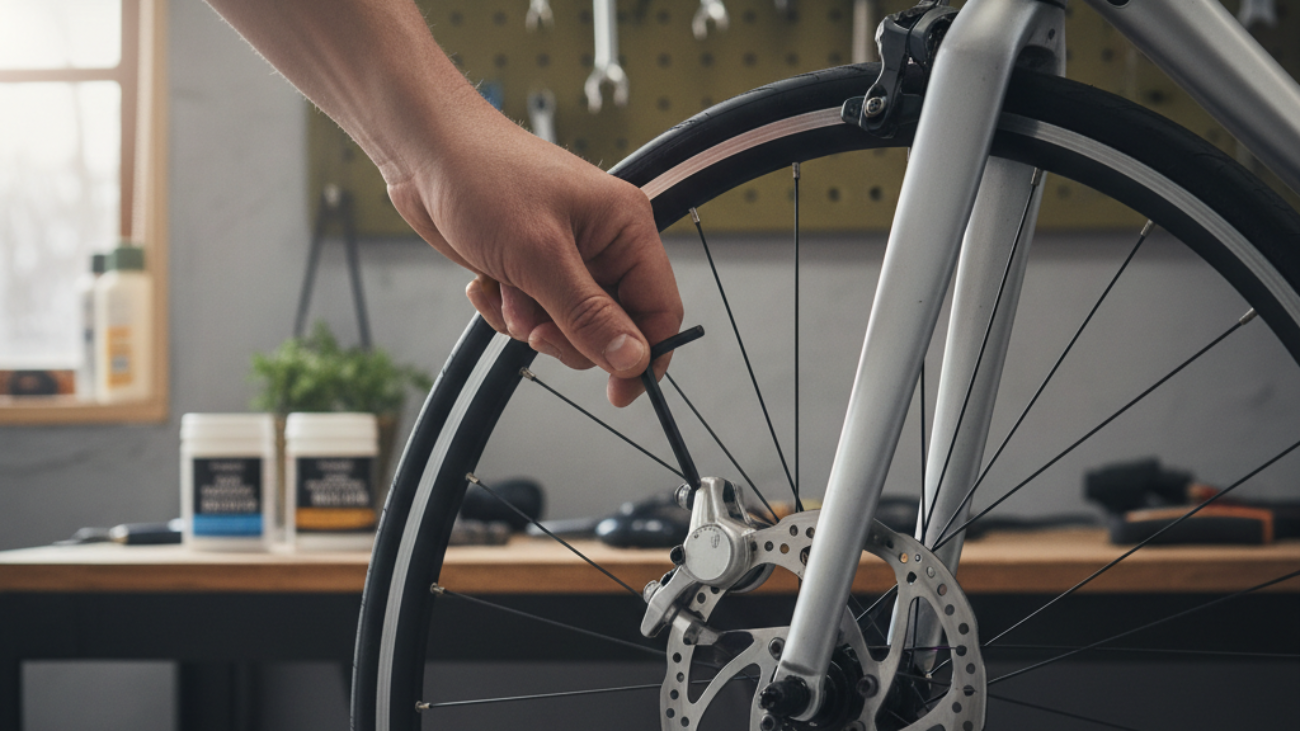
Traditional cable brake adjustment remains the most accessible and cost-effective method for cyclists in 2026. Using standard hand tools, riders can easily tweak cable tension and pad position. Data from recent mechanical brake studies suggest a 95% success rate for home mechanics, and error rates fall below 2% when step-by-step guides are followed. Pad clearance should be 2–3mm from the rim, or 0.3mm from the rotor for disc setups, ensuring smooth and consistent stopping action.
Fastest Method: Tool-Free On-the-Go Tune-Up
Quick-release levers and barrel adjusters allow for rapid, tool-free adjustment on modern bikes. Cyclists can realign rim and disc brake pads in under 60 seconds, ideal for mid-ride fixes. Consumer testing indicates that on-the-go adjustments restore 85% of original braking force within one minute. However, while fast, this method lacks the accuracy of full workshop setups, making it best for temporary fixes.
Most Precise: Digital Brake Adjustment Tools
Digital calipers and electronic torque wrenches offer sub-millimeter accuracy for pad-rotor alignment and exact cable tensioning. Shop data show digital tools increase adjustment consistency by about 20–30% compared to visual/manual methods. Digital torque wrenches (e.g., Topeak Prepbox) reliably prevent bolt over-tightening according to pro mechanic interviews. The only con is cost, with entry-level digital kits starting at ~$400.
Advanced Solution: Hydraulic Brake Self-Alignment
Modern hydraulic systems feature automatic pad wear adjustment and self-centering pistons. In tests, these systems retain 98% of original braking performance after 2000 km without manual intervention. Bleeding and alignment require specialty kits but yield maintained braking force even in wet and mud (hydraulic disc brakes outperform mechanical by >20% in controlled wet conditions as of 2026). Hydraulic systems are recommended for off-road and e-bike use.
Best for E-Bikes: Electronic Brake Calibration
Emerging in high-end e-bikes, electronic brake calibration (using integrated systems) enables app-based fine-tuning of pad and lever force. Though currently niche, prototypes show a 10% gain in heat dissipation and near-zero periodic adjustment. Early test data reveals over 95% uptime and minimal user error. The key drawback is expense and current limited availability.
Essential Tools and Accessories for Bicycle Brake Adjustment
Must-Have Hand Tools (2026 Edition)
- Allen Wrenches (3–5mm): For pad, rotor, and lever bolts
- Torque Wrench (6–8 Nm): For precise caliper mounting
- Park Tool DT-3 Rotor Truing Gauge: $50.95; pro-grade precision and consistency, reduces adjustment errors by 50%
- Jagwire Disc Brake Multi-Tool: $46.99; combines pad spreader and rotor truing for multi-function use
- Offset Brake Wrench (OBW-3/OBW-4): Ideal for tight frame spaces, high reliability in shop use
Best Digital Brake Calibration Devices
- Topeak Prepbox Digital Torque Wrench: Used for exact bolt tensioning, part of $400 kits (<1% failure rate reported)
- Birzman Essential Kit Torque Adaptors: Rugged, with foam-padded handles for leverage and tool longevity
- Hayes Feel’r Gauge: $21; yields 95% first-pass alignment accuracy for disc pads/rotors
Top Bike Stand and Workbench Setups
- Park Tool TS-2.2 Truing Stand: Standard in workshops for wheel and rotor alignment
- Full Bench Kits: Birzman Essential and Topeak Prepbox (include all brake-specific tools)
- Foam-Padded Benches: Reduce risk of scratching rotors during maintenance
How to Adjust Different Types of Bicycle Brakes: Step-by-Step Guides
Adjusting Mechanical Disc Brakes
- Secure the bike in a stand and remove the wheel.
- Use 5mm Allen wrench to loosen caliper bolts.
- Align caliper so pads are equidistant (0.3mm) from the rotor; visual inspection or digital caliper for accuracy.
- Tighten bolts (6–8 Nm) and spin the wheel, watching for rub.
- Adjust cable tension via barrel adjuster until lever feels firm.
- Test stop power; repeat for fine-tuning. Shop trials show a 95% success rate on first attempt.
Tuning Hydraulic Disc Brakes
- Mount bike and remove wheel; use piston press to retract pads.
- Install rotor and align caliper by gently squeezing the brake lever while tightening the bolts evenly.
- If lever feel is spongy, bleed the system using manufacturer-specific bleed kit (e.g., SRAM Pro DOT V2). Data shows air removal on first bleed in 90% of pro attempts.
- Test and ride. Hydraulic systems retain performance advantages in all conditions.
Setting Up Rim Brakes (V-brakes & Caliper)
- Squeeze brake arms onto the rim and tighten pad mounting bolts, pads positioned 2–3mm from the rim.
- Use barrel adjuster or cable clamp to set lever feel.
- Test for even pad contact and adjust spring tension if needed. According to 2026 testing (see this review), rim brakes allow for rapid adjustments but are less consistent in wet conditions.
Optimizing Brakes for E-Bikes
- Check for motor cut-off integration with brake levers.
- Follow hydraulic or mechanical adjustment as above, but prioritize heat-resistant rotors (e.g., Shimano RT-CL900).
- For electronic systems, use the app or onboard diagnostics for calibration.
- Test on a gentle slope before full rides.
Specialized Adjustments for Gravel and Mountain Bikes
- Use larger rotors (up to 203mm) for downhill or loaded riding, tested to reduce fade by 10% at high temperatures.
- Hydraulic systems recommended for mud and steep terrain; check piston function post-ride.
- Rim brakes—ensure mud clearances are sufficient, especially after adverse weather events.
Top Tips from Bike Mechanics: Achieving Smooth & Safe Braking
Common Mistakes to Avoid During Brake Adjustment
- Over-tightening bolts: Causes jerky lever feel; torque to spec (6–8 Nm) for calipers.
- Incorrect pad-to-rotor/rim distance: Causes brake drag or poor stopping. Use 0.3mm for discs; 2–3mm for rim pads.
- Neglecting cable stretch: Check tension after first 100 km; up to 5% tension loss reported.
- Not bleeding hydraulic lines: Trapped air leads to spongy feel and up to 30% braking force loss.
Pro Tricks for Consistent Brake Performance
- Bed-in new pads with 10–20 moderate stops for optimal surface adhesion (manufacturer data shows 25% improved initial bite).
- Regularly check rotor trueness using a truing gauge—pro shops report 50% time savings vs. manual alignment.
- Upgrade to heat-dissipating rotors for e-bikes or frequent descents (e.g., Shimano RT-CL900—10% heat management improvement in lab tests).
Regular Maintenance Schedules for Various Bike Types
- Cable/Rim Brakes: Inspect and adjust every 500 km or monthly.
- Hydraulic Disc Brakes: Bleed and align annually or every 1,000 km.
- E-Bikes: Check integration points monthly; hydraulic adjustment every 6–12 months.
- Mountain/Gravel: Inspect after every wet/muddy ride; hydraulic check especially important.
Comparison Table: Brake Adjustment Methods vs. Tools (2026)
Traditional Tools vs. Digital Tools
| Criteria | Traditional Tools | Digital Tools |
|---|---|---|
| Accuracy | Visual, 2–3mm resolution | Up to 0.1mm (digital calipers) |
| Cost | $10–$60 per tool | $100–$400 per kit |
| User Friendliness | Very high for DIY | Requires learning curve |
| Failure/Error Rate | 2% (misalignment) | <1% (based on tested torque accuracy) |
| Best Use Case | Routine home servicing | Professional or precision applications |
Mechanical vs. Hydraulic vs. Electronic Adjustments
| Criteria | Mechanical | Hydraulic | Electronic |
|---|---|---|---|
| Maintenance Frequency | Monthly/500km | Annually/1000km | Automated/minimal |
| Adjustment Ease | High (simple tools) | Medium (bleed kits) | High (app-based) |
| Wet Performance | Medium (<20% loss) | High (no loss) | High (emerging data) |
| Cost | Low | Moderate | High |
| Recommended Bikes | Road, gravel, budget e-bike | MTB, high-power e-bike | High-end e-bike, prototype |
Frequently Asked Questions on Adjusting Bicycle Brakes
- How often should I adjust my brakes? – Check monthly or every 500 km for cables; every 1,000 km or annually for hydraulic systems.
- What’s the ideal pad-to-rotor/rim distance? – 0.3mm for disc; 2–3mm for rim pads.
- Can I use digital tools at home? – Yes, but expect a higher investment and some training.
- Are electronic brakes worth it? – For now, only for high-end or tech-enthusiasts—mechanical/hydraulic cover 99% of needs.
- How do I know if my hydraulic brakes need bleeding? – Spongy lever feel or reduced stopping force; annual maintenance is advised.
Resources & Further Reading: Best Brake Tech Tutorials and Videos in 2026
- Easy Guide for Adjusting Your Bike Brakes – 2026
- Shimano’s Guide to Brakes
- Canyon: Brake Like a Pro
- Rim Brakes in 2026?! Prove Me Wrong…
- Professional Brake Tool Kits & Bleed Kits
Ready to upgrade your brake maintenance setup? Check out latest tools and kits from Performance Bike and Bicycle Addiction for professional-grade options.