
Essential Tools and Preparations for Removing Bike Pedals
What Tools Do You Need to Take Off Bike Pedals?
Before you start, it’s important to have the right tools. Here’s what you need:
- 15mm pedal wrench or an Allen key (usually 6mm or 8mm, check your pedal type)
- Pliers (optional, for extra grip)
- Penetrating oil (for stuck pedals)
- Clean rag or paper towels
- Grease for reinstallation
- Gloves to protect your hands
Preparing Your Bike and Workspace for Safe Pedal Removal
Safety and organization are essential. Follow these steps to prepare:
- Place your bike on a flat surface for stability. Use a bike stand if possible.
- Shift your bike into a low gear to move the chain away from your work area.
- Lay out your tools within easy reach.
- Remove any loose items near your workspace to prevent trips or drops.
- Wear gloves to keep your hands safe and clean.
Safety Tips to Prevent Injury
- Work slowly and carefully to avoid knuckle injuries.
- Use the right tool size to prevent slipping.
- Keep fingers and clothing away from moving bike parts.
- Make sure the bike won’t tip over during the process.
Understanding Bike Pedal Threading and Identification
The Difference Between Left and Right Pedals
Bike pedals are not the same on each side. The right pedal (chain side) tightens by turning clockwise, while the left pedal tightens by turning counterclockwise. This threading prevents pedals from loosening as you ride. Reversing this is a common mistake.
How to Locate and Read Pedal Markings
Look for an “L” or “R” on the threaded end of the pedal or the flat face near the spindle. “L” means left (non-drive side), and “R” means right (drive side). If the markings are hard to see, clean the area with a rag.
Step-by-Step Instructions: How Do You Take Off Bike Pedals
Positioning the Bike and Crank Arms Correctly
- Set the bike upright and stable.
- Turn the right crank arm (chain side) so it points forward and parallel to the ground.
- Make sure your workspace is uncluttered and well-lit.
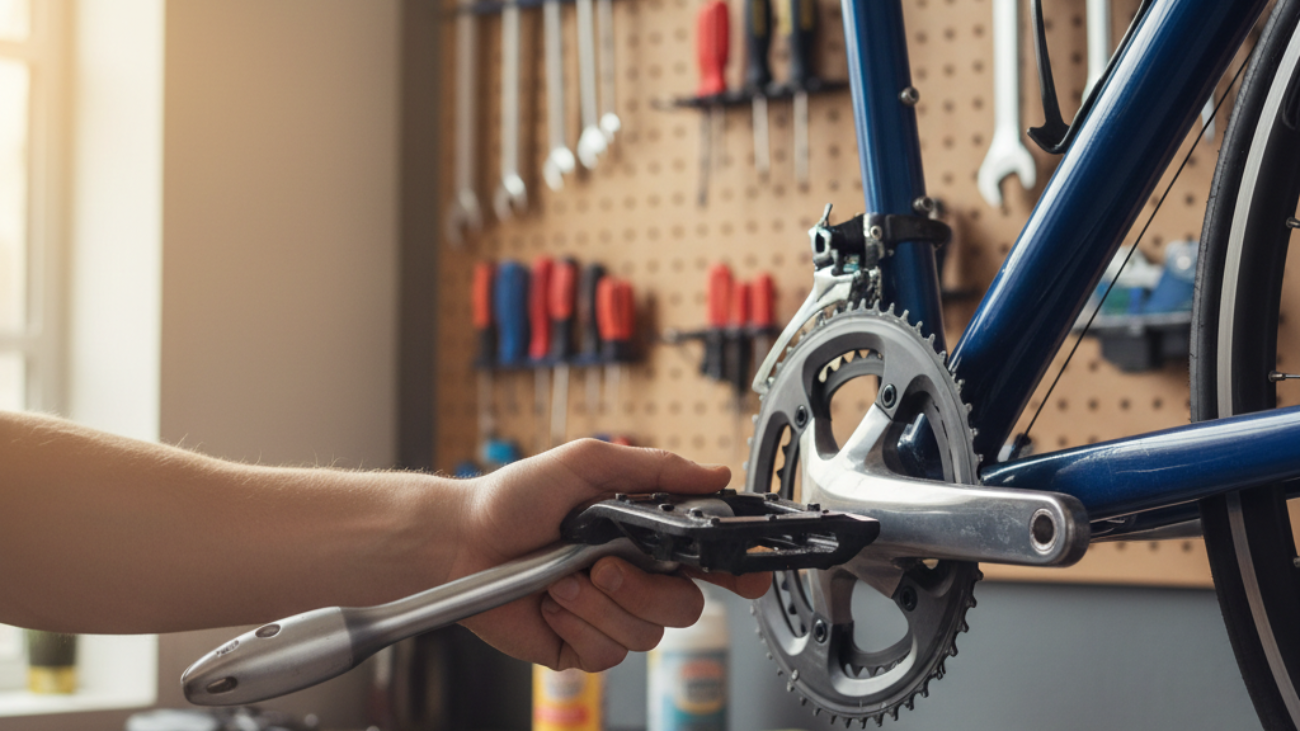
Proper Technique: Removing the Right Pedal
- Fit your pedal wrench or Allen key onto the flat surface or hole at the end of the pedal spindle on the right side.
- Turn the wrench counterclockwise (left) to loosen the right pedal.
- If it is tight, use steady force and avoid sudden jerks.
- Remove the pedal once it is loose by unscrewing it by hand.
Proper Technique: Removing the Left Pedal
- Fit the pedal wrench or Allen key onto the left pedal spindle.
- Turn the wrench clockwise (right) to loosen the left pedal. This is the opposite direction from the right pedal.
- Once loose, finish unscrewing by hand and remove the pedal.
Common Mistakes and How to Avoid Them When Removing Bike Pedals
Preventing Damaged Threads and Slipped Tools
- Always use the correct size tool to avoid stripping the pedal or crank arm.
- Apply pressure evenly and do not rush. Jerking can damage parts.
- Double-check the threading direction before turning the wrench.
Protecting Knuckles and Avoiding Common Injuries
- Wear gloves to cushion any accidental slips.
- Keep your hand away from the chainring and sharp parts.
- Use controlled, steady pressure instead of sudden force.
Troubleshooting Stuck or Seized Bike Pedals
Why Pedals Get Stuck and How to Fix It
Pedals can get stuck due to rust, grime, or being overtightened. This is common if not removed for a long time.
- Apply a few drops of penetrating oil to the pedal threads and let it sit for 10-20 minutes.
- Try rocking the wrench back and forth instead of only one way.
- For extra force, carefully use a piece of pipe slipped over the wrench handle for more leverage.
Safe Ways to Use Penetrating Oil and Lubricants
- Clean excess dirt from the pedal and crank area.
- Apply a small amount of penetrating oil (like WD-40) to the thread where the pedal enters the crank.
- Wipe any drips or spills to protect your bike’s finish.
- Wait for the oil to soak in before trying again.
When to Seek Professional Help
- If the threads appear stripped or parts are bent, consult a bike shop.
- Seek help if a pedal won’t move even after oil and extra leverage to avoid damage.
Special Considerations for Different Bike Types
Removing Pedals from Electric Bikes (e-Bikes)
- e-Bike pedals are usually similar to standard bikes but may be tighter due to increased torque from the motor.
- Follow the same process above but be aware that e-Bikes can be heavier and more unwieldy. Use a solid stand for stability.
- Disconnect the battery before working for safety.
Taking Off Pedals on Kids’ Bikes and Other Variants
- Kids’ bikes use smaller pedals but the thread direction is the same.
- Tools may be smaller; check if you need a mini pedal wrench or Allen key.
- Support the bike securely, as lighter bikes can tip over more easily.
Eco-Friendly and Alternative Lubrication Options
- Choose biodegradable bike-specific grease or plant-based oils when possible.
- Some people use coconut oil or olive oil for light lubrication, but dedicated bike grease is best for durability.
- Dispose of old lubricant and rags responsibly to avoid polluting the environment.
Aftercare: Maintenance, Cleaning, and Installing New Pedals
Cleaning the Threads and Crank Arms
- Wipe crank arm threads with a clean rag to remove old grease and dirt.
- Check for damage or wear.
Greasing and Protecting Pedal Threads
- Apply a small amount of bike grease to pedal threads before installation.
- This prevents future seizing and rust, and makes removal easier next time.
Quick Guide to Reinstalling or Upgrading Pedals
- Check pedal markings (“L” and “R”) before installation.
- Screw the right pedal in clockwise; the left pedal screws in counterclockwise.
- Tighten firmly but do not overtighten. Use a wrench as needed.
- Wipe off excess grease after installation.
FAQ: How Do You Take Off Bike Pedals—Common Questions Answered
- Can I use a regular wrench? Sometimes, but a pedal wrench is thinner and fits better.
- Why won’t my pedal budge? It’s likely seized. Use oil and give it time.
- What if I lose the pedal washers? You can get replacements at most bike shops.
- Is it okay to ride without grease? Greasing threads is strongly recommended to prevent future problems.
Resources and Visual Guides for Beginners
Step-by-Step Infographics and Video Links
- Search “How to remove bike pedals” on YouTube for step-by-step video demonstrations from bike mechanics.
- Bike manufacturer websites often have their own help sections with diagrams and infographics.
- Local community bike workshops may offer classes and printed guides.
Where to Find Replacement Pedals and Tools
- Bike shops and sporting goods stores have pedal wrenches and most types of pedals.
- Online retailers like Amazon, REI, or your local bike shop’s website offer starter pedal and tool kits.
- Community bike non-profits sometimes give away or sell used pedals and tools for low cost or free.